
DIY Branding for Your Budding Body Butter Business: Sweet Success in Every Jar
About author
Related posts
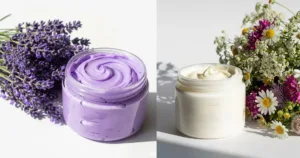
Creating Luxurious Body Butter: A Step-by-Step Guide to Making and Marketing Your Own Product Body butter is a luxurious and nourishing product that can deeply... Continue reading
Add comment